CONVERTING A ROLAND JV-1080 TO EUROPEAN MAINS
Disclaimer: Don’t do this unless you know exactly what you’re doing. Working with mains is dangerous and can cause you or someone else harm or start a fire or rain hellfire and brimstone upon your soul. I take no responsibility whatsoever if you do this – you’re on your own.
Even though I have a dedicated AC 100V line for all Japanese gear I prefer them to use European mains (AC 240V). Luckily the JV-1080 along with a bunch of other Roland models use the same transformer for all types of mains (100V/120V/220V/240V). The tough part is actually disassembling and assembling the unit.
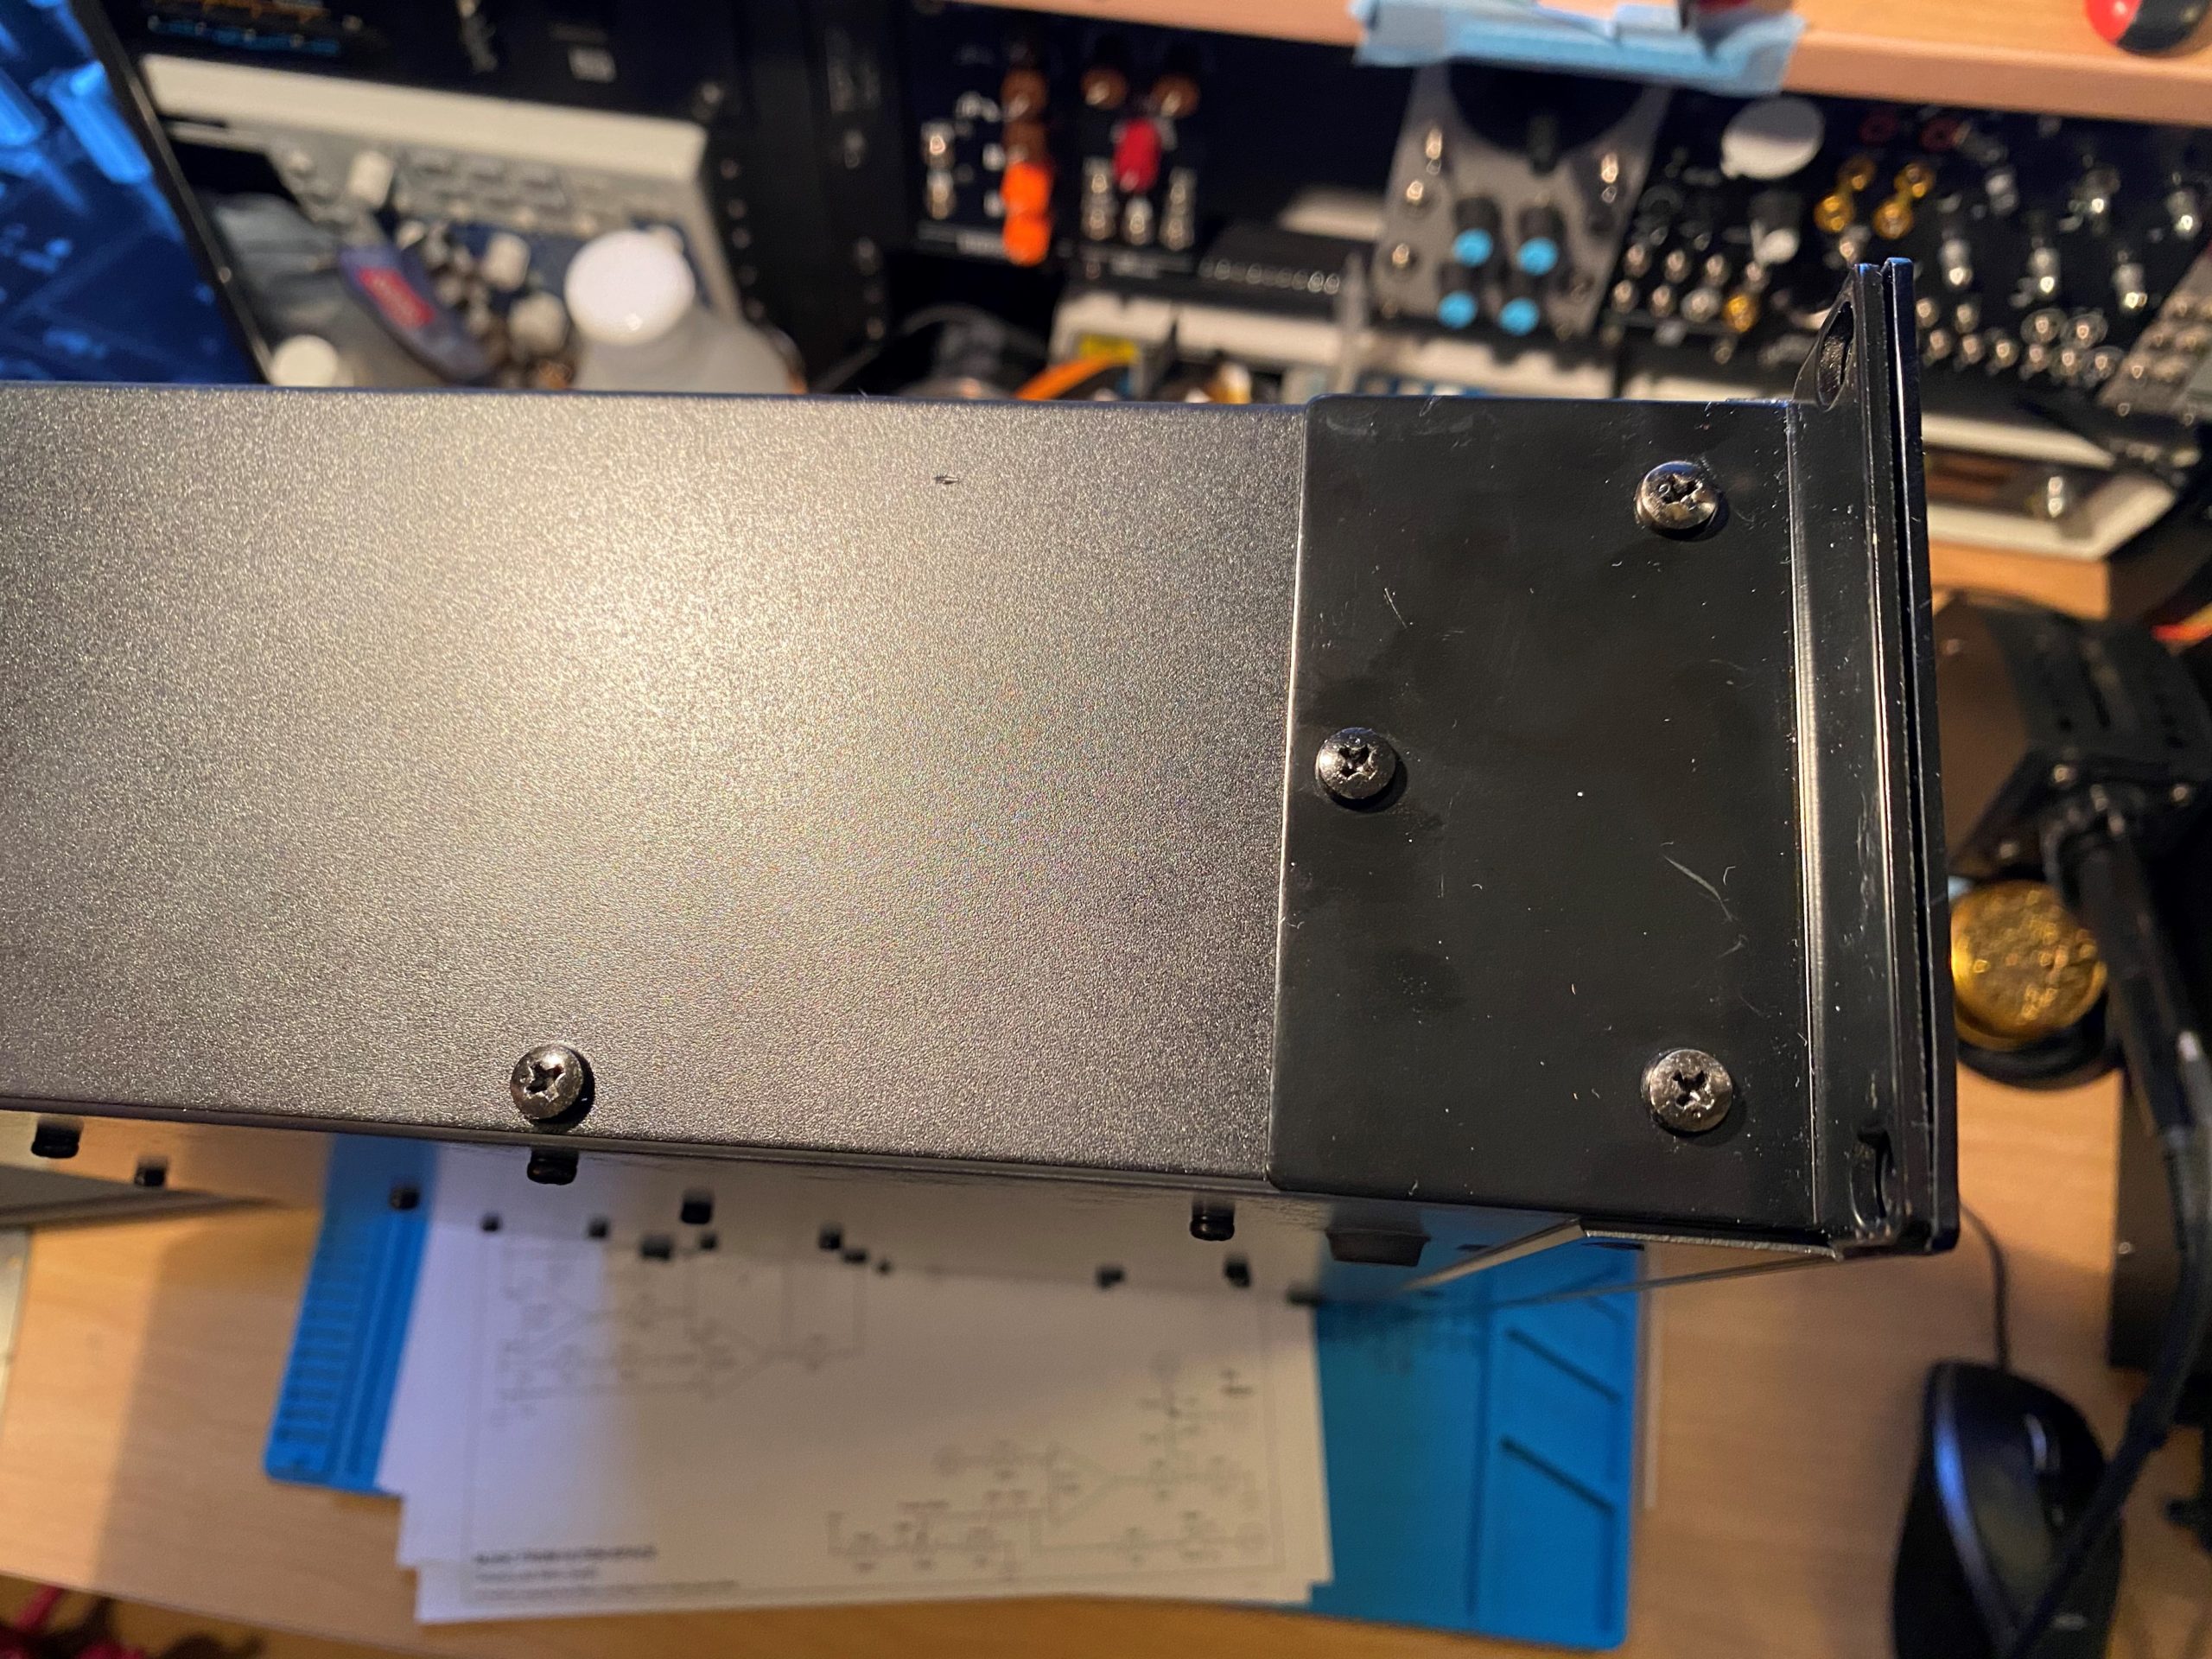
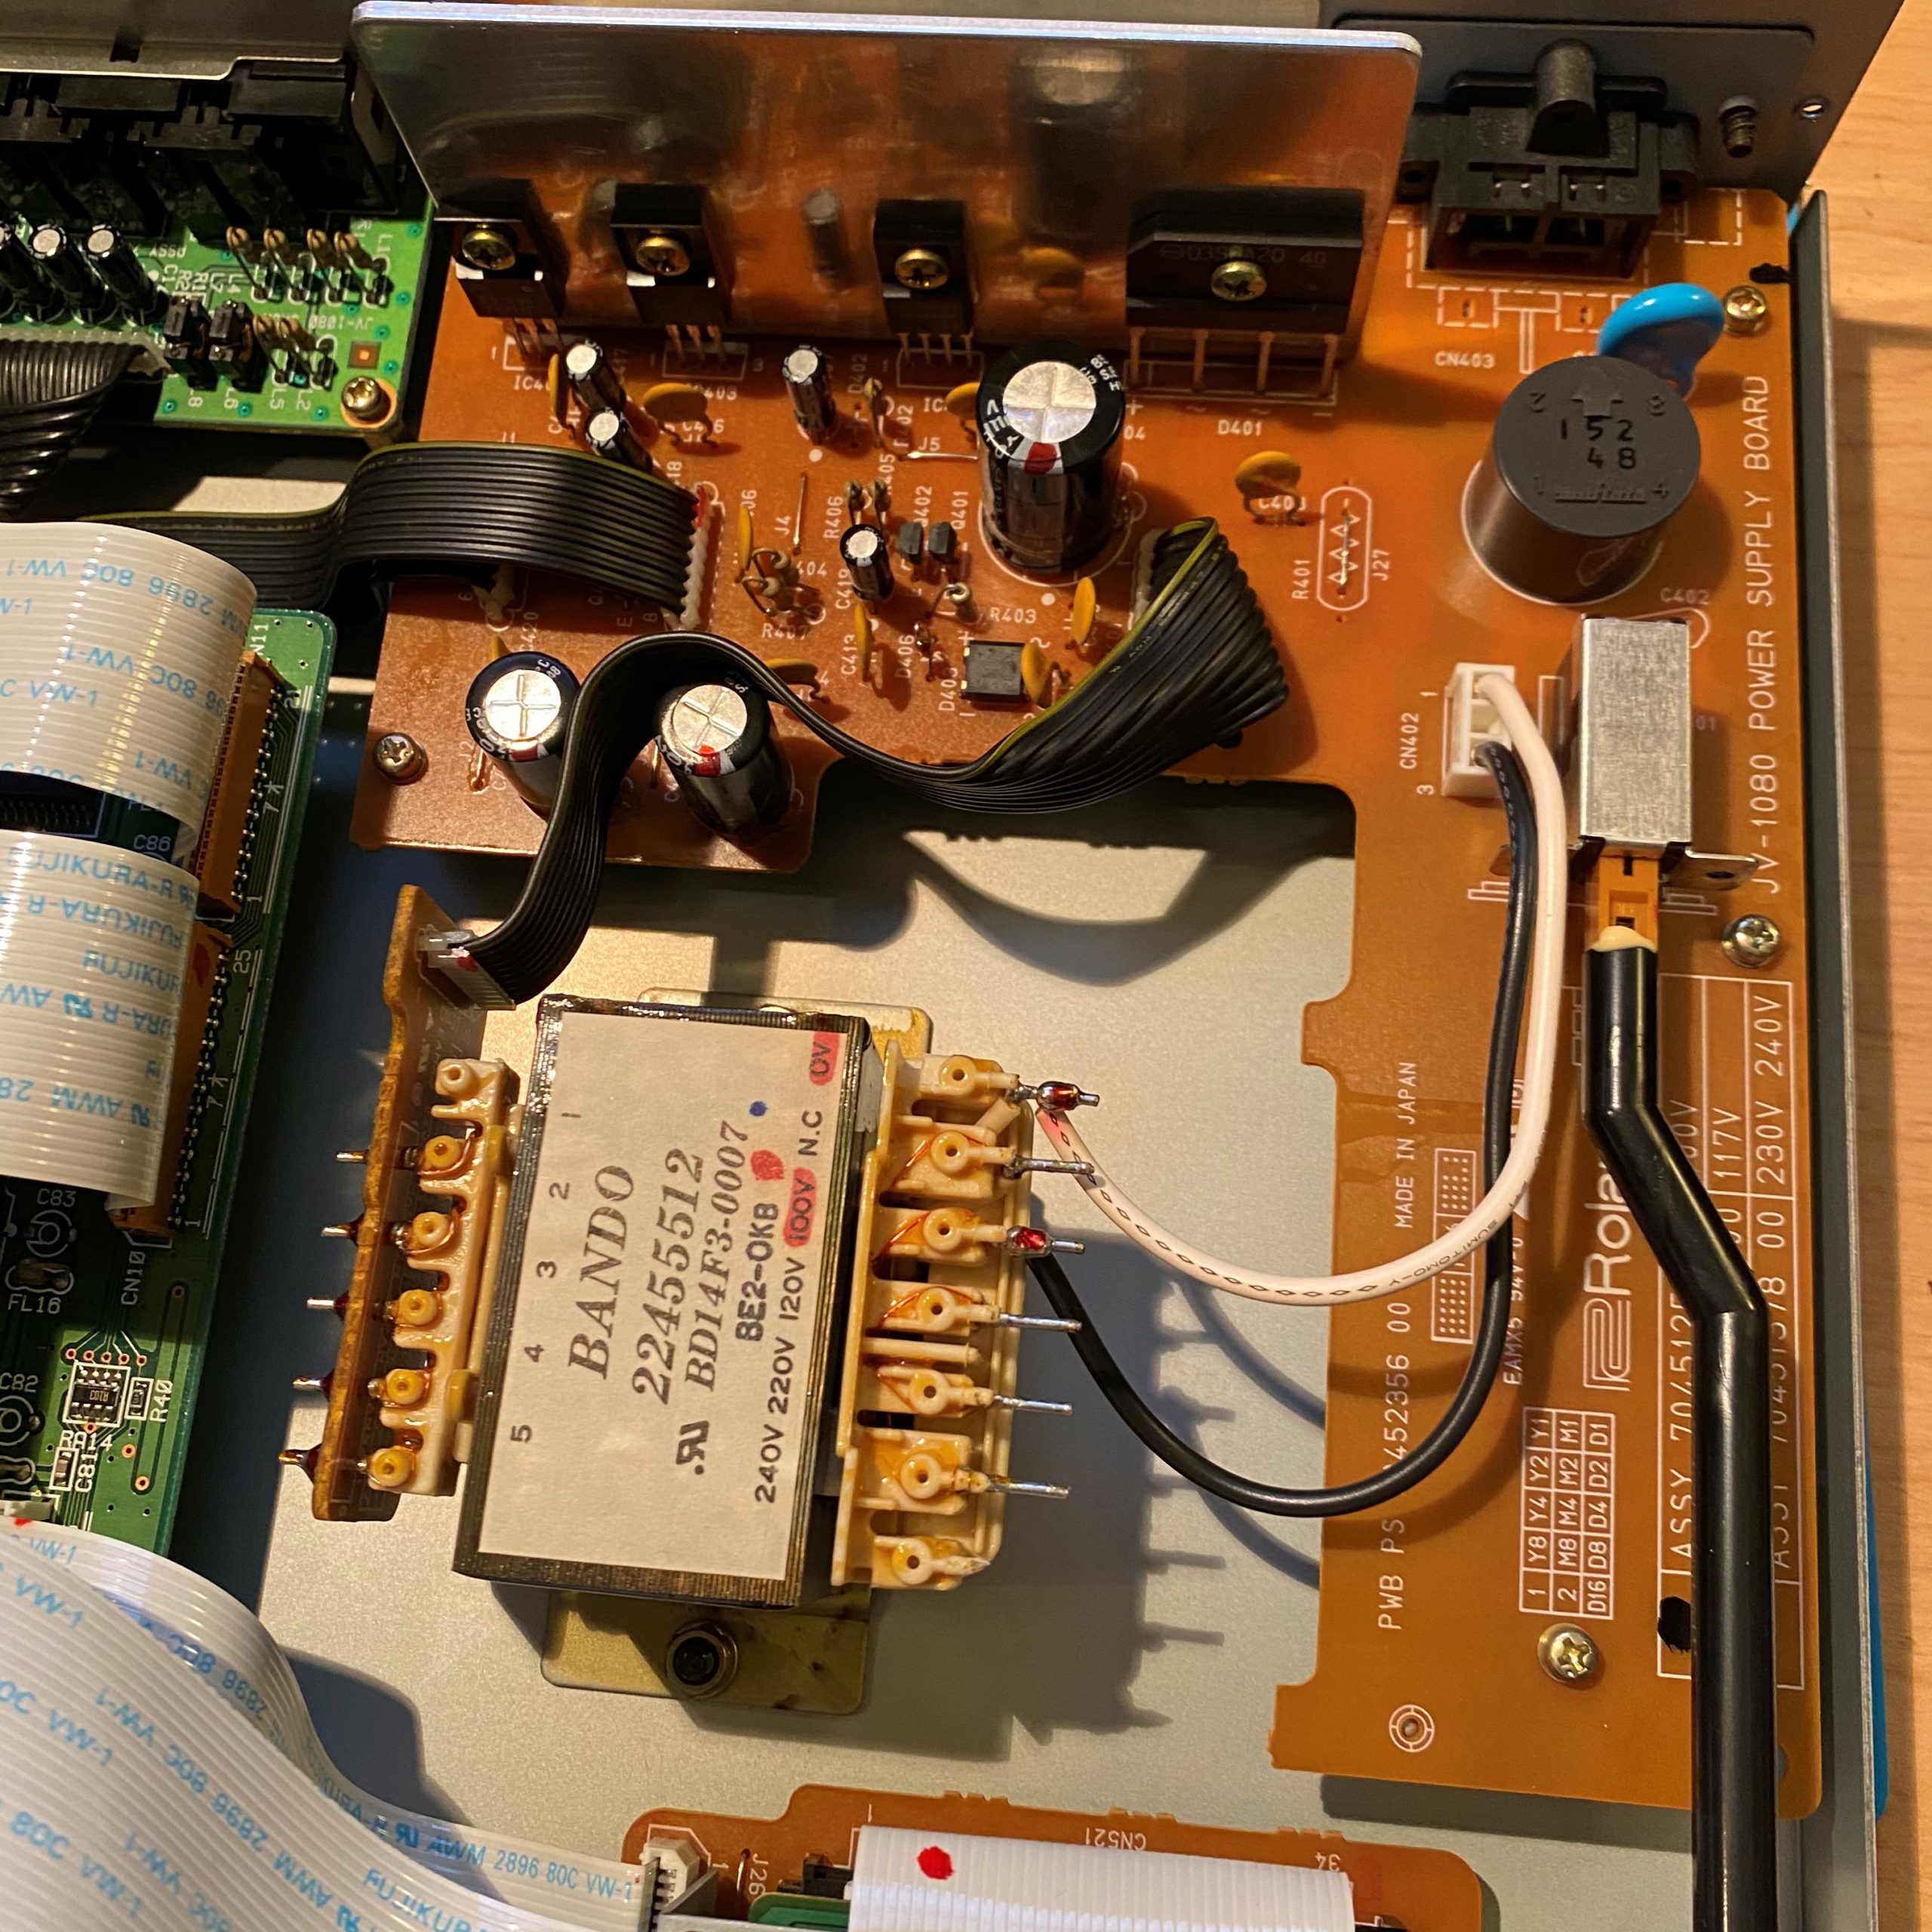
Opening up the unit requires removing four screws on both sides plus five screws on the back. Slide the top of the unit slightly backwards and lift it off. Inside you’ll be greeted by the expansion base board (front left), the jack board (to the rear), the transformer and the power supply board (right). The main board is hidden below the expansion base board (we’ll get to that later).

Right side 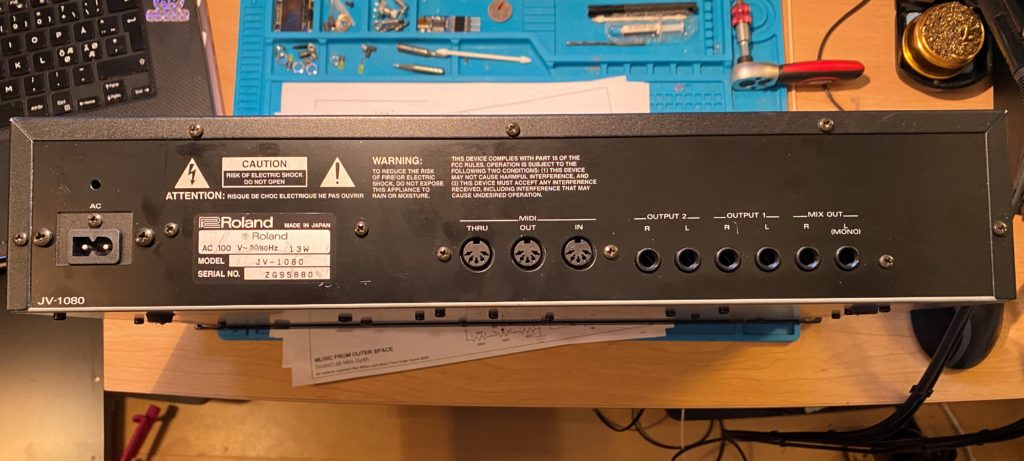
Rear 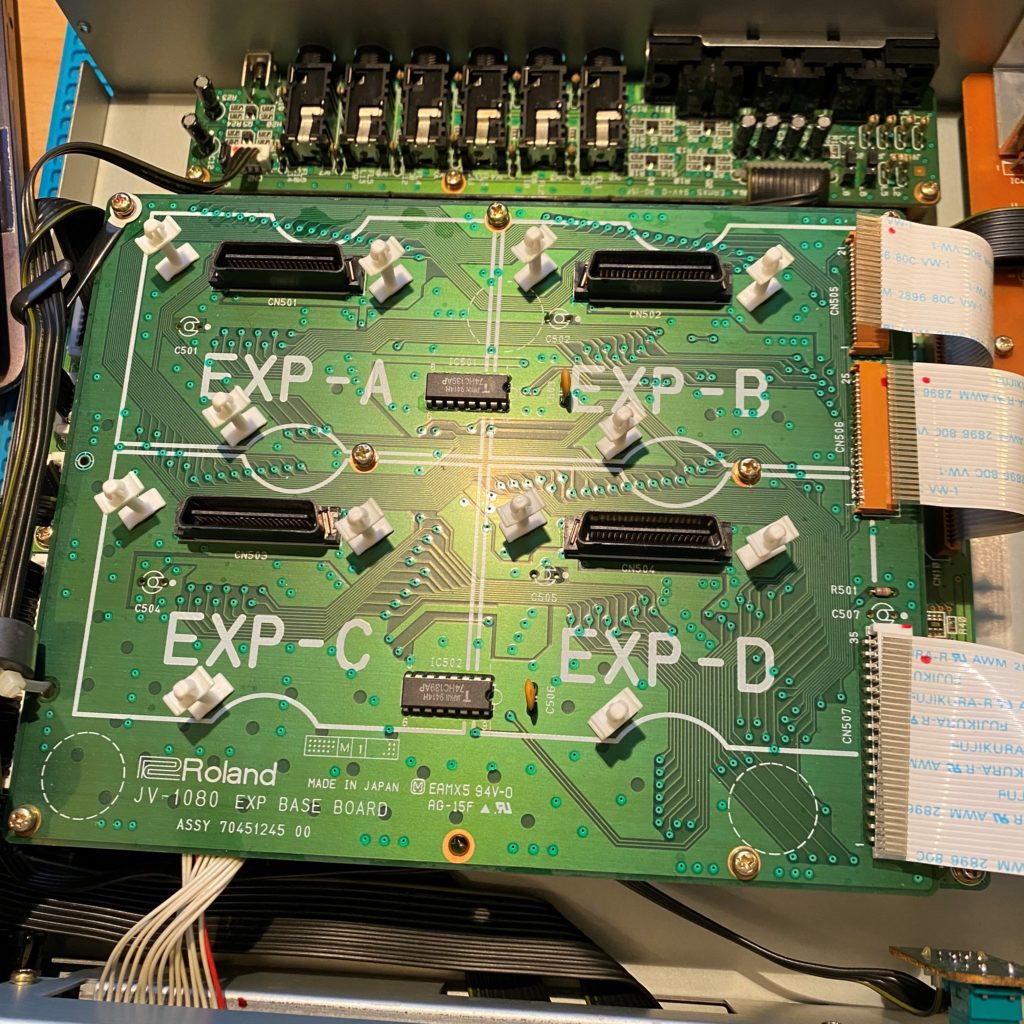
Expansion base board 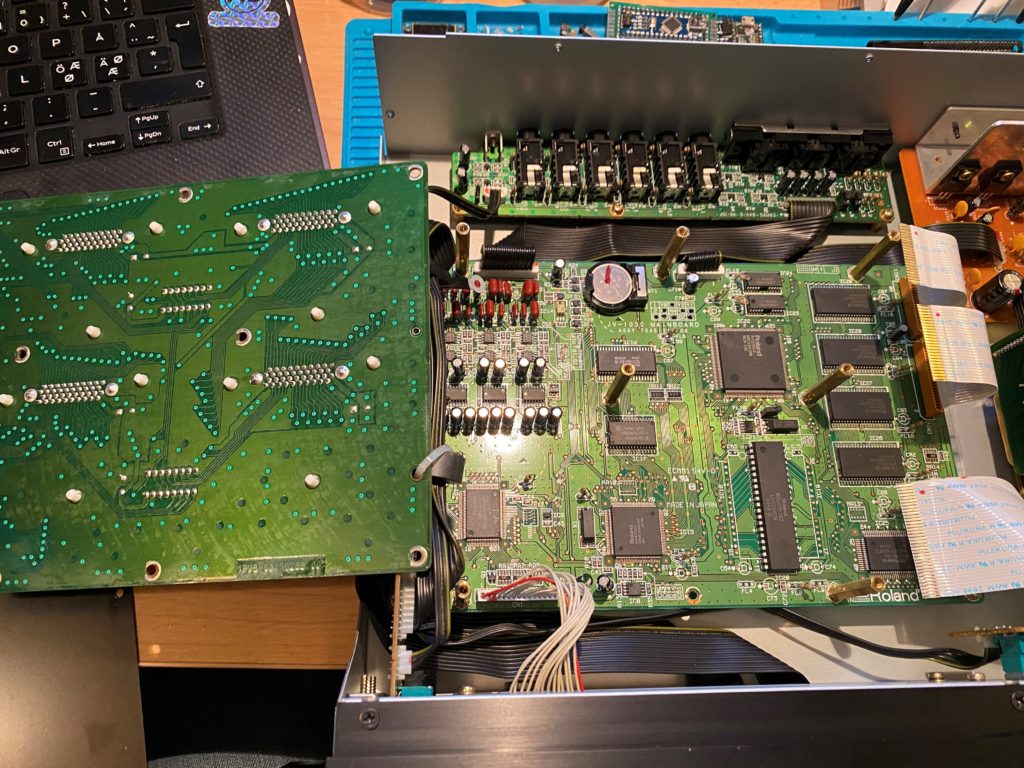
Main board 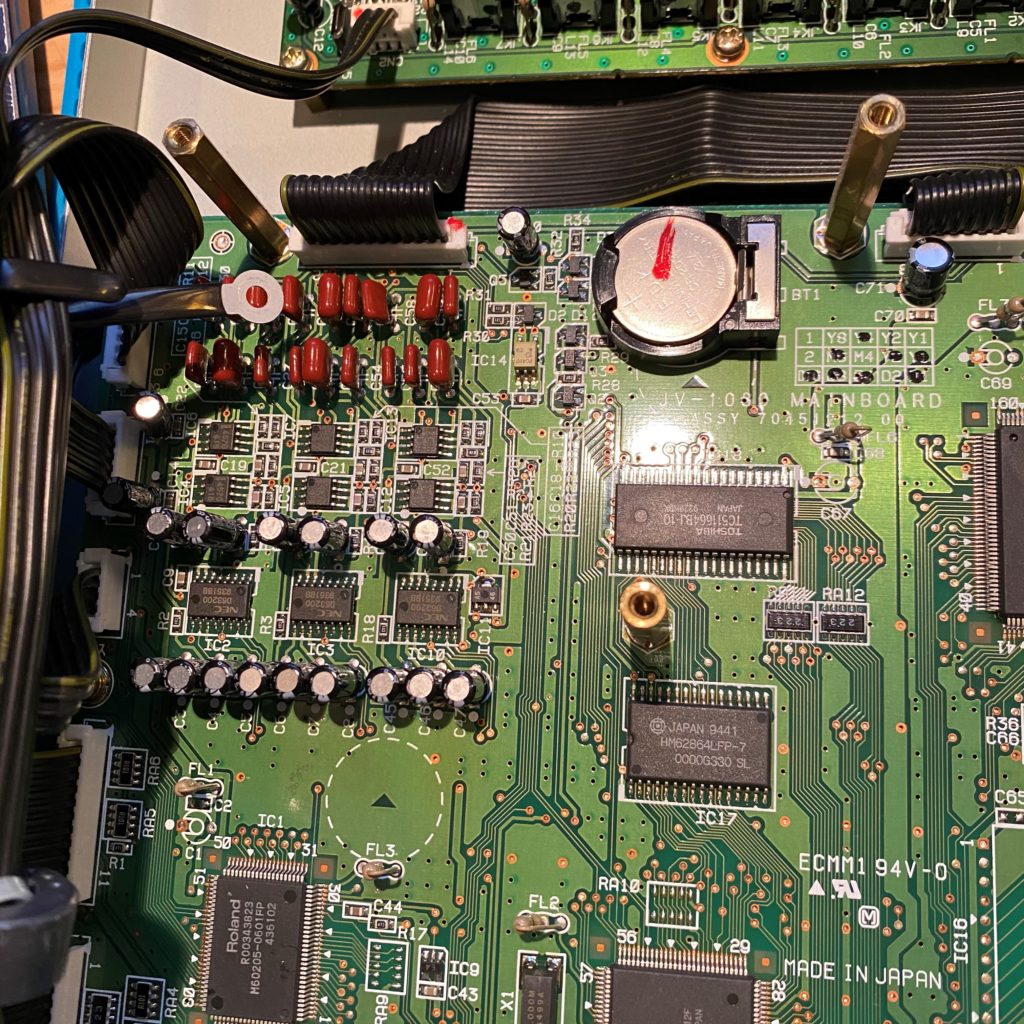
Main board 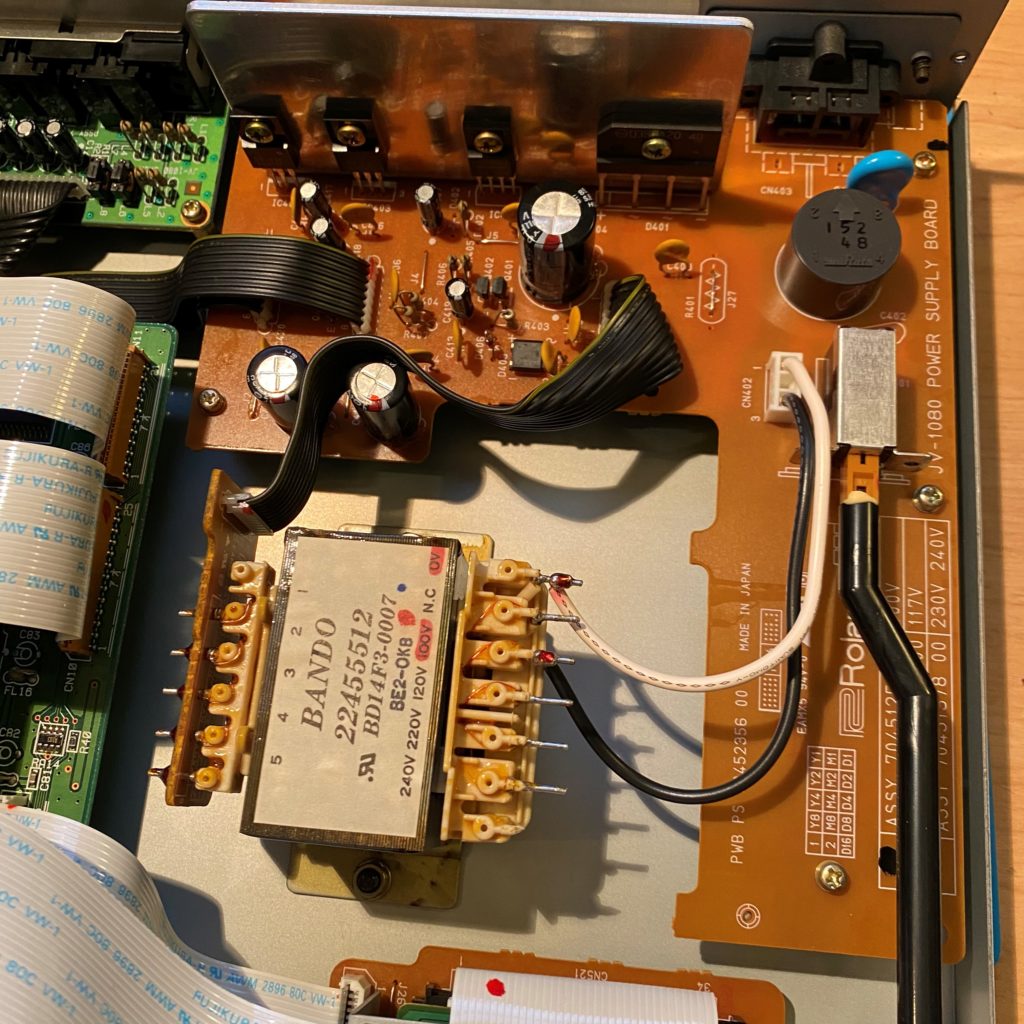
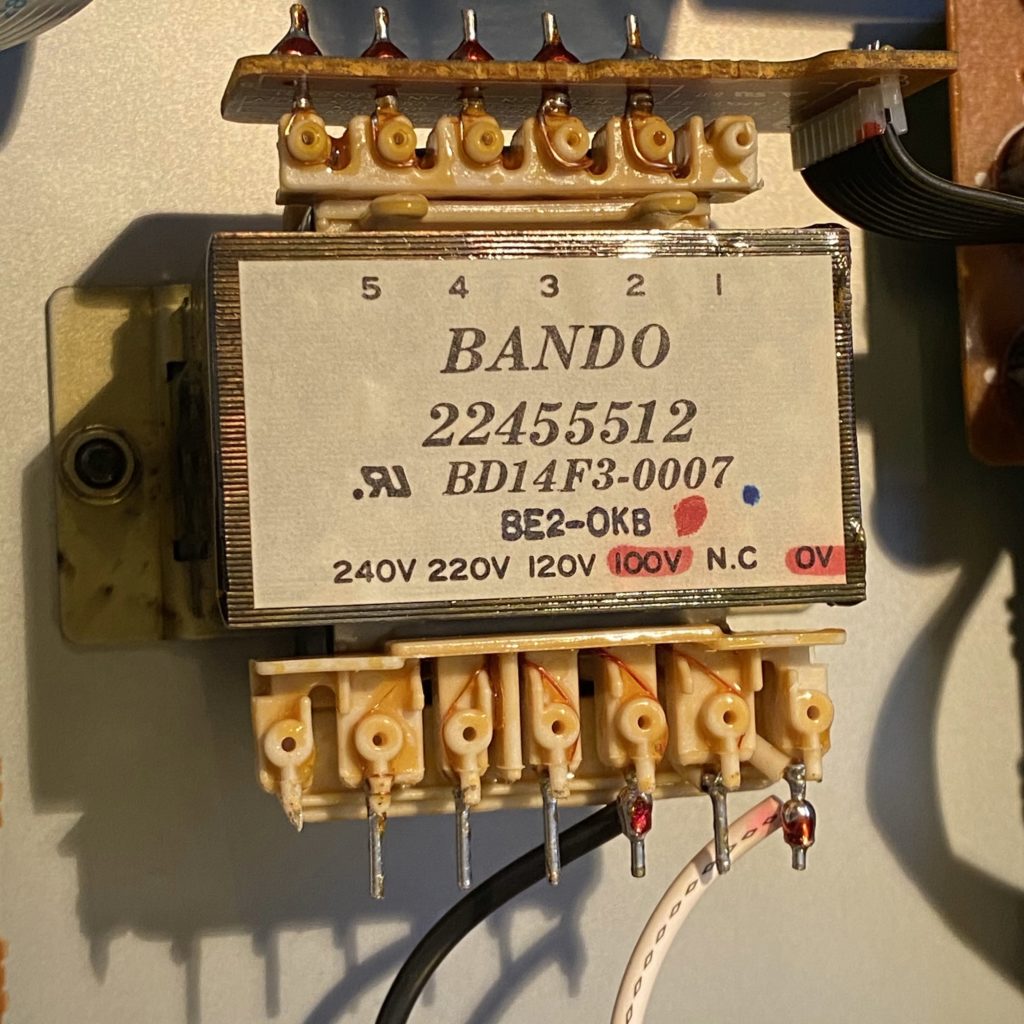
Transformer and power supply board


Initially I was going to swap out the electrolytic capacitors. The JV-1080 was introduced in 1994 and stayed in production until 2001, so the units have 20+ years on the meter but these were in tip top shape. As was the unit in its entirety – no fat, no dust, hardly any scratches. So I actually skipped out on that.
100V 
240V

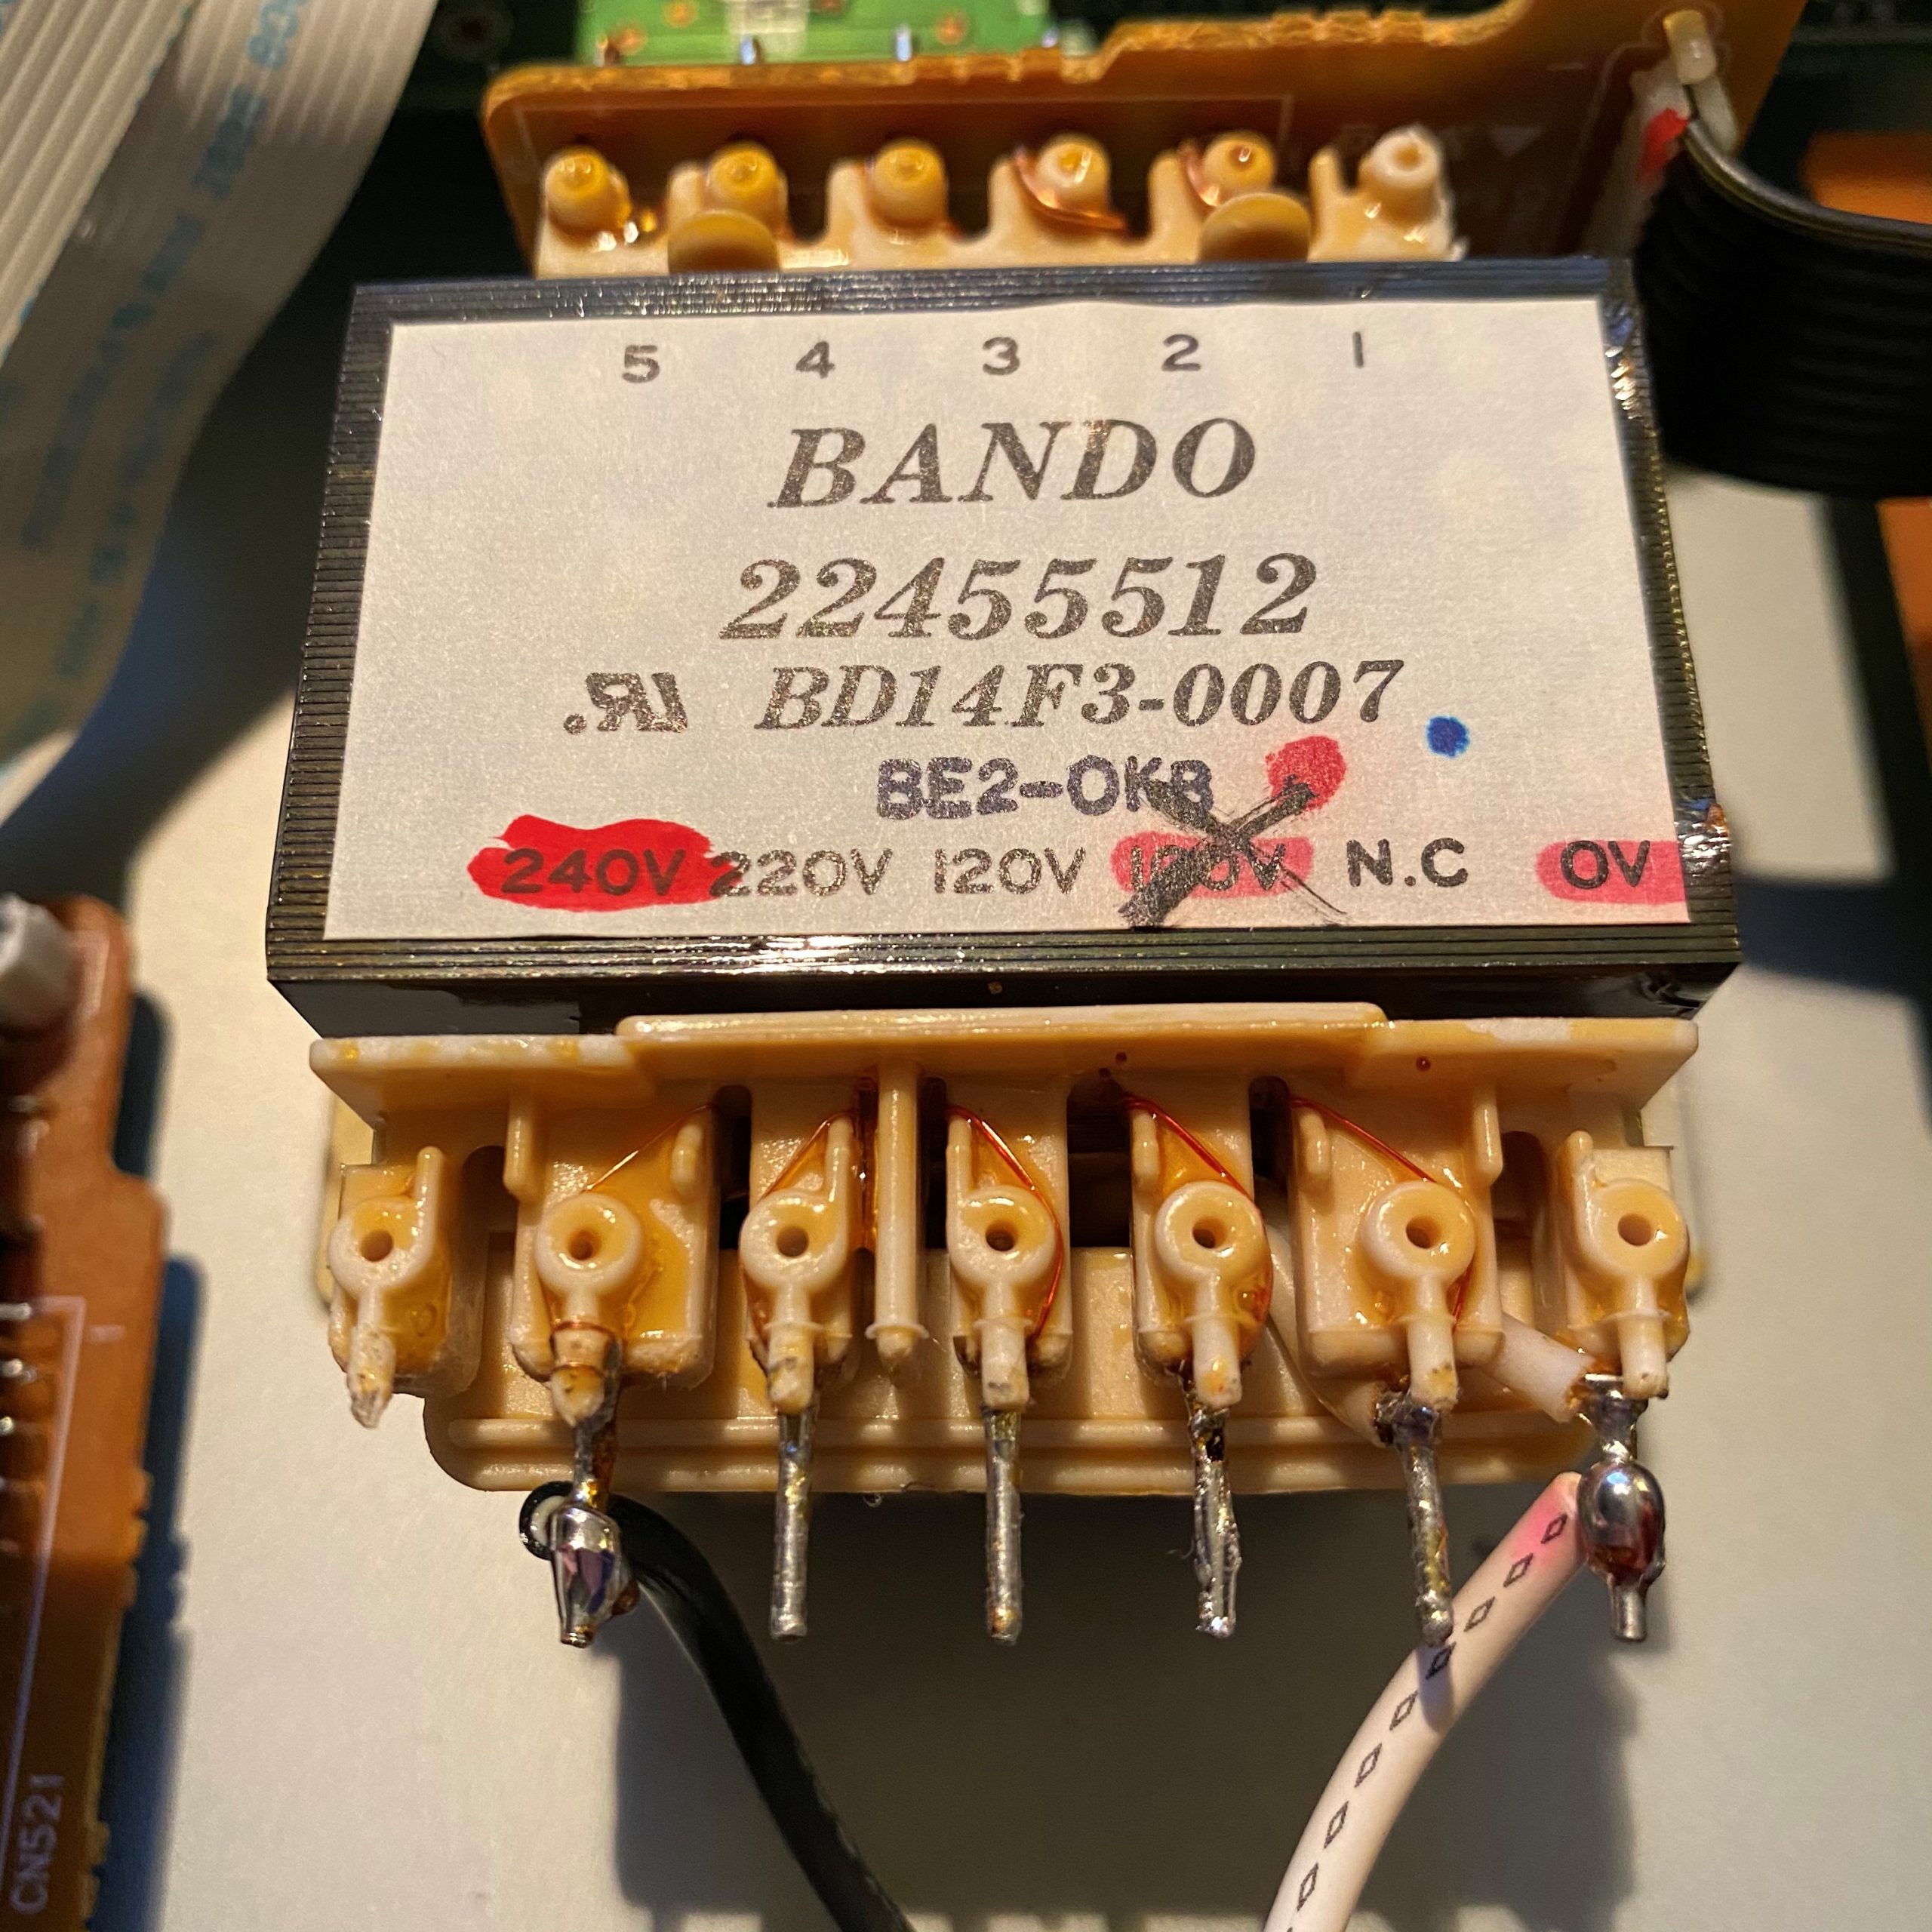
Converting between different mains (voltages) doesn’t get any simpler than this『どうもありがとう‼』. Desolder the cable from the positive pole and solder it to the desired voltage (in my case 240V) and done. To be honest there’s one more step, but in most cases it’s unnecessary. The AC socket on the rear differs between different regions but it’s hard to find a replacement and in most cases it’s easier to just getting hold of a fitting power cord.
In order to change the battery you have to remove the expansion base board (well, maybe not, but it’s a heck of a lot easier if you do). There’s 7 or 8 screws to unscrew plus the three flat cables to the right. It’s pretty much impossible to reconnect them incorrectly, but you might wanna mark them anyway – better be safe than sorry, eh? The battery is a common CR2032 coin cell (3V lithium).
Now’s the time to ask yourself; “Did I save those sexy patches or not?”. If the answer is no – pack it up, turn it on and save them to a memory card or over MIDI to your computer. Because if you don’t they’re gone or corrupted – all depending on how quick you are. If the unit has been turned on right before you unplug it it may have some juice stored in the capacitors to keep it alive, but don’t count on it.

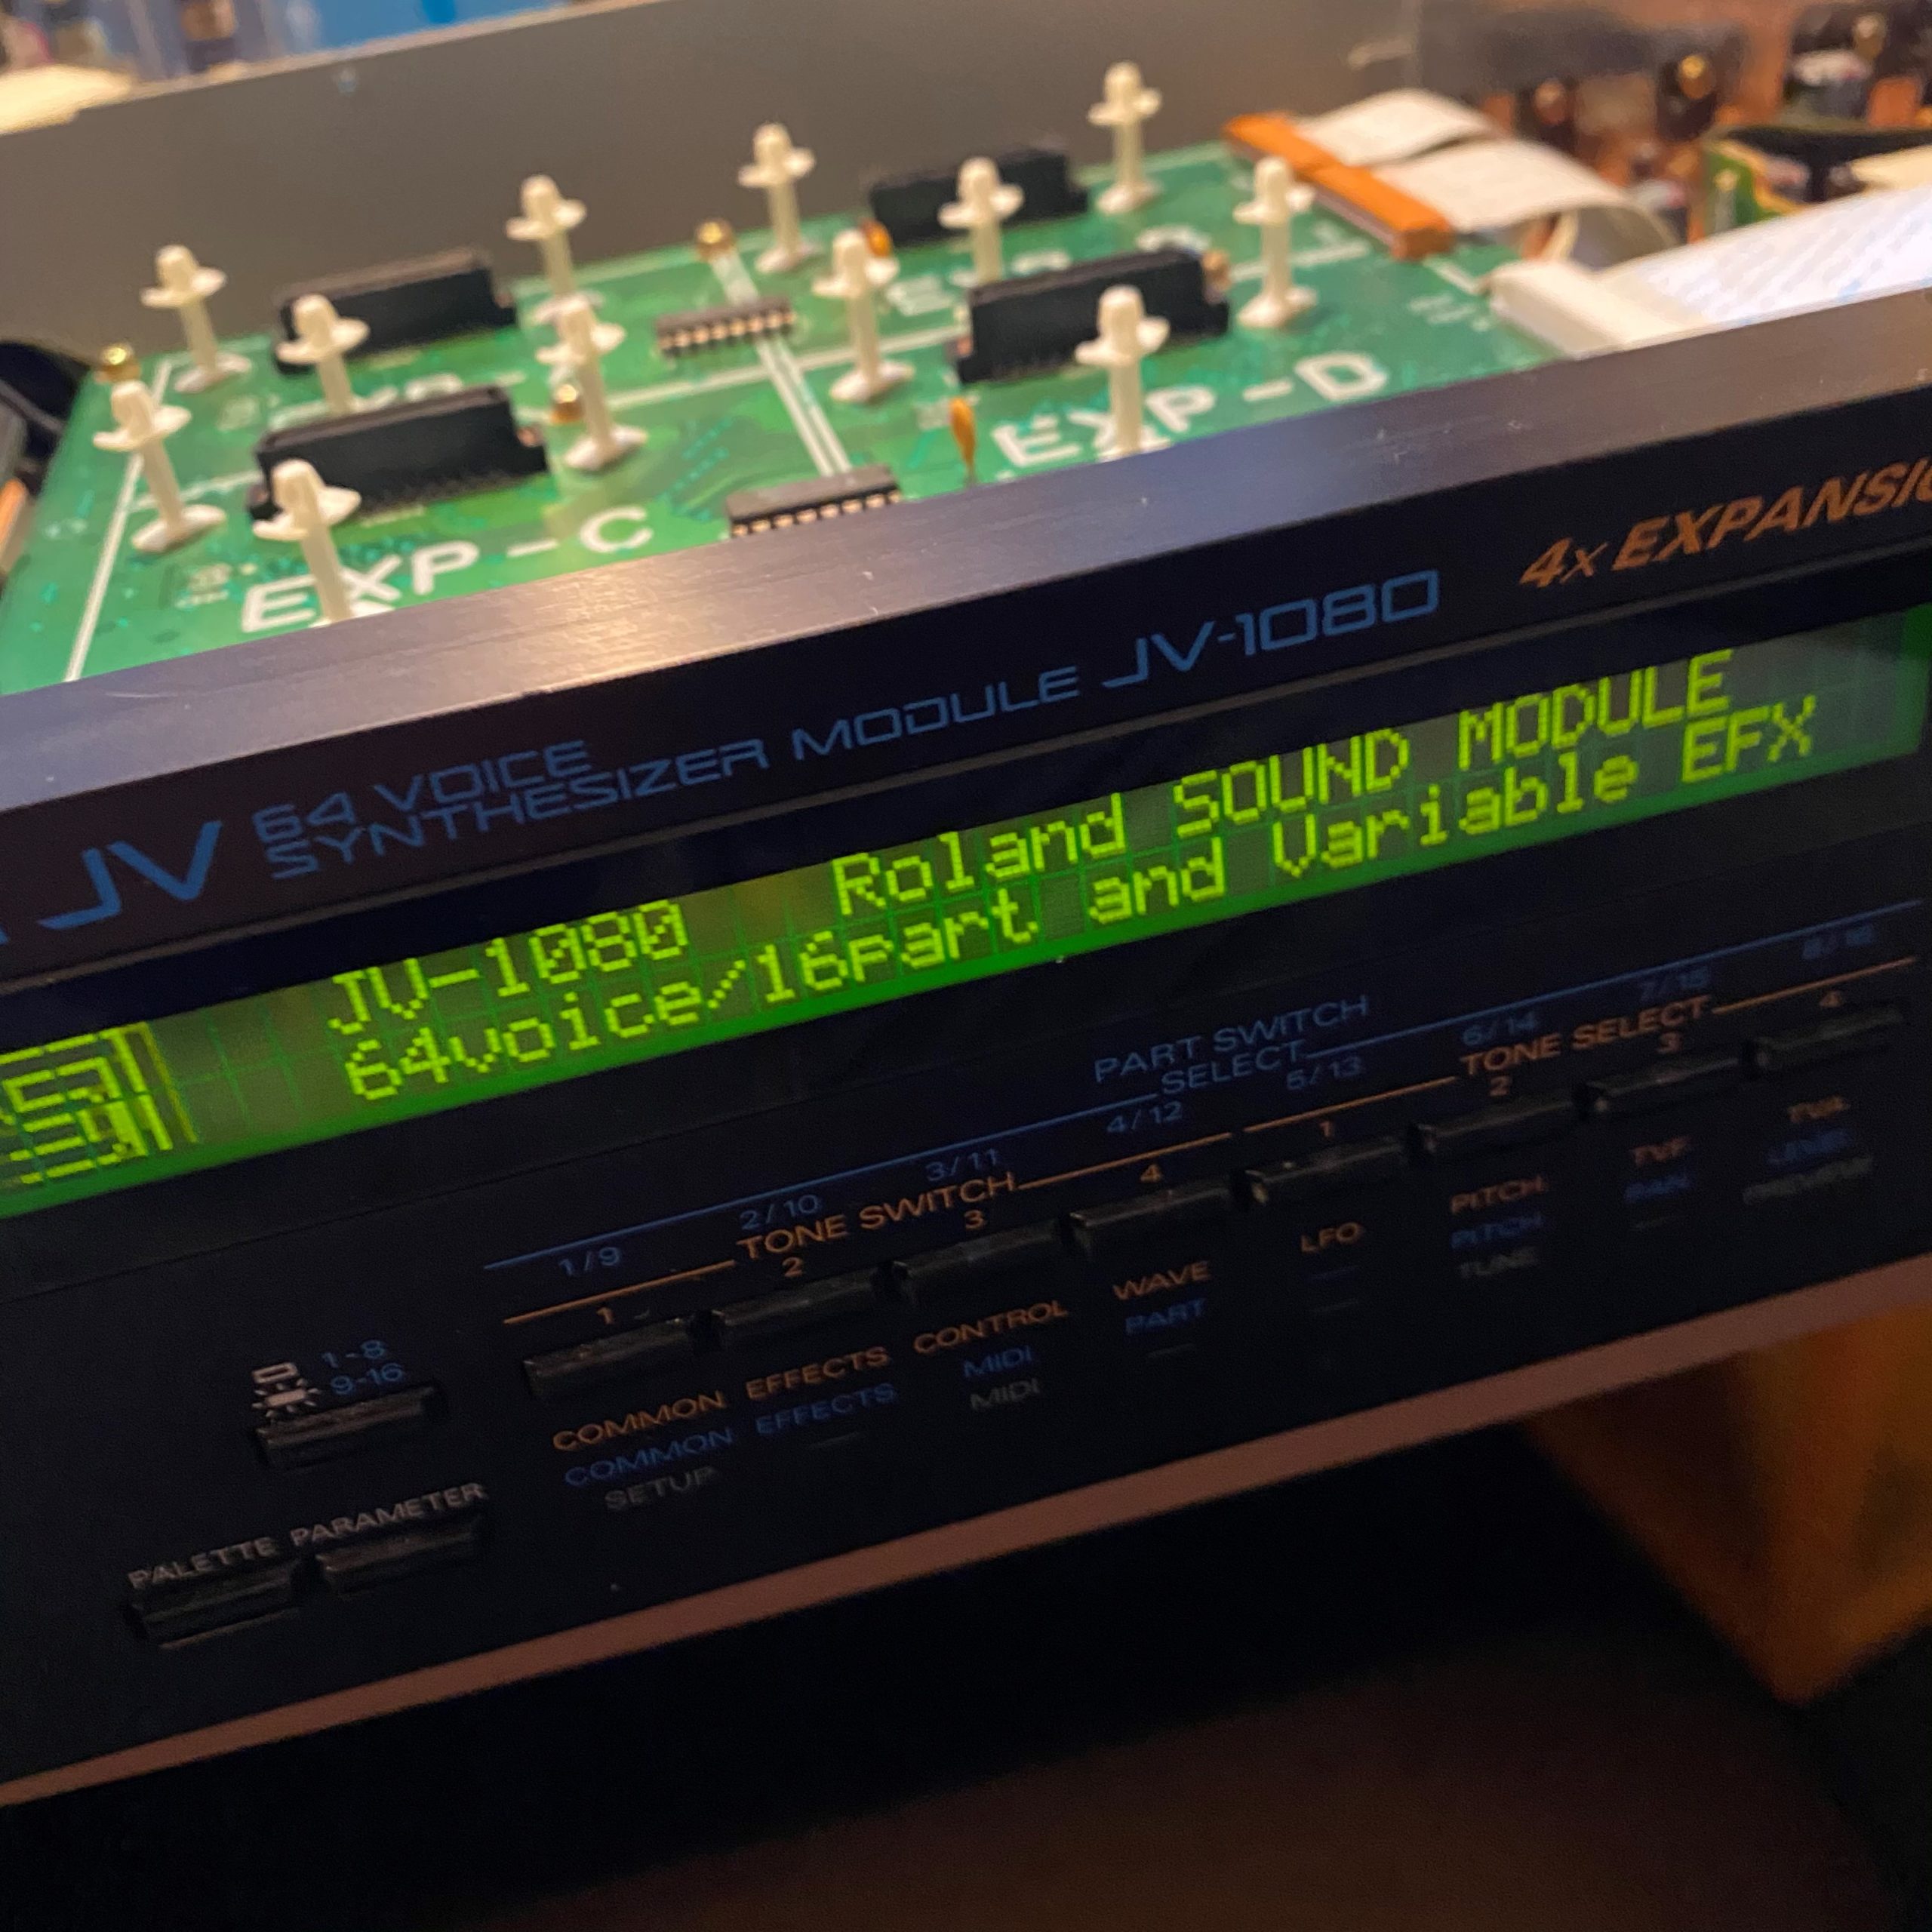
It’s alive..! 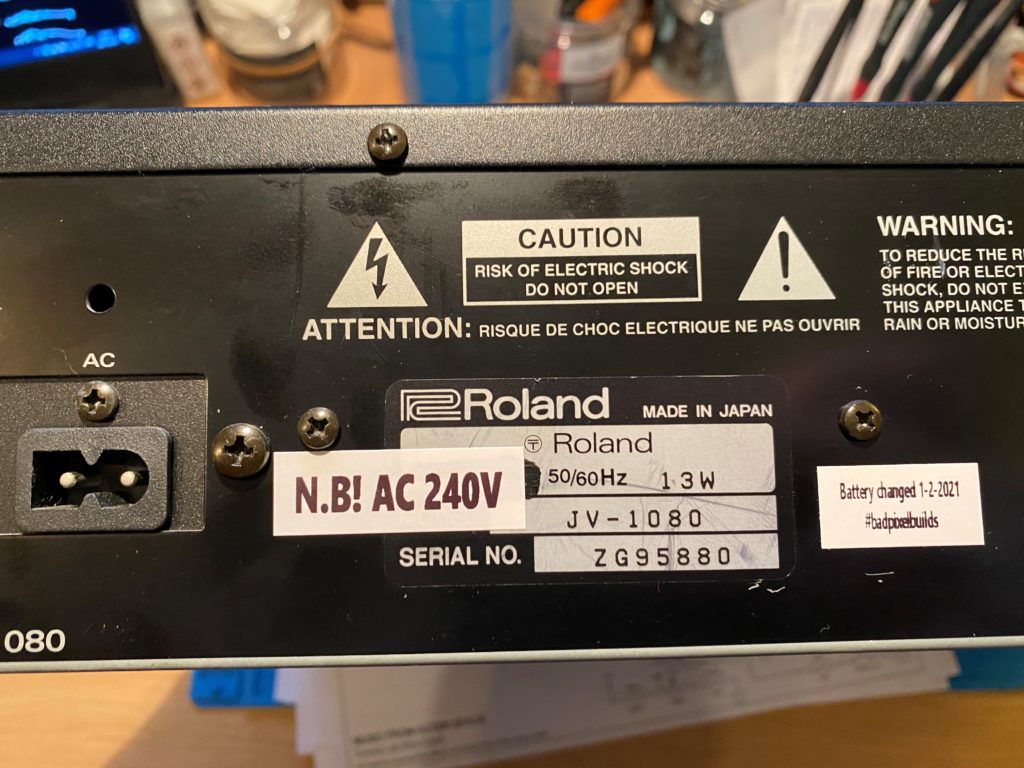
Buckle your seatbelt, Dorothy. We’re no longer in Tokyo.
All that’s left is to plug it in and hope you don’t fry it when plugging it in again 😉 Do check and double check that you soldered the cable to the correct pin. There’s nothing as devastating as magic smoke escaping from your gear. Don’t forget to mark the correct voltage somewhere close to the power socket. I usually also stick a label with the date for the battery change.
Created under CC BY-NC-SA 4.0.
Be First to Comment